Guide

How to setup SCIM with OneLogin


BlueTally lets you save time and headaches by automatically syncing employee entries with users from OneLogin. Setup your integration in only a few steps:

1) Log in to your OneLogin account and click on "Applications", then on "Add App"

How to setup SCIM with OneLogin

2) Search for "SCIM Provisioner with SAML (SCIM v2 Core)" and select it

How to setup SCIM with OneLogin

3) Give it a name (like BlueTally SCIM), upload icons (click here for the rectangular icon, click here for the square icon) and click "Save". You might get an error notification after this, but you can safely ignore it

How to setup SCIM with OneLogin

4) Click on "Parameters" in the left menu bar

How to setup SCIM with OneLogin

5) Click on the "+" to add a new parameter

How to setup SCIM with OneLogin

6) Enter "name" in Field Name and click "Save"

How to setup SCIM with OneLogin

7) Then search for "Name" in the Value dropdown, select it and click "Save"

How to setup SCIM with OneLogin

8) Do the same for "title"

How to setup SCIM with OneLogin

9) Do the same for "Title"

How to setup SCIM with OneLogin

10) Do the same for "department"

How to setup SCIM with OneLogin

11) Do the same for "Department"

How to setup SCIM with OneLogin

12) Click on "Save" in the top right corner

How to setup SCIM with OneLogin

13) Click on "Configuration" in the left menu bar

How to setup SCIM with OneLogin

14) Copy the "Endpoint URL" and the "Secret Token" from your BlueTally account settings, and paste them into the "SCIM Base URL" and the "SCIM Bearer Token" fields

How to setup SCIM with OneLogin

15) Scroll down and paste this into the "SCIM JSON Template" field

How to setup SCIM with OneLogin

16) Scroll back up again and click on "Enable"

How to setup SCIM with OneLogin

17) Click on "Save" in the top right corner

How to setup SCIM with OneLogin

18) Click on "Provisioning" in the left menu bar

How to setup SCIM with OneLogin

19) Check the "Enable Provisioning" checkbox, un-check the "Create user", "Delete user" and "Update user" fields, change the deletion dropdown value to "Suspend" and click "Save"

How to setup SCIM with OneLogin

20) Click on "Users" in the top menu bar and then select a user that you would like to add to the app

How to setup SCIM with OneLogin

21) Click on "Applications"

How to setup SCIM with OneLogin

22) Click on the "+"

How to setup SCIM with OneLogin

23) Select the app you just made (BlueTally SCIM) and click "Continue"

How to setup SCIM with OneLogin

24) Click "Save"

How to setup SCIM with OneLogin

25) You can now see that the user has been provisioned and added to the app. Repeat this process (Step 20-25) for all the groups or users you'd like to add to the app as employees

How to setup SCIM with OneLogin

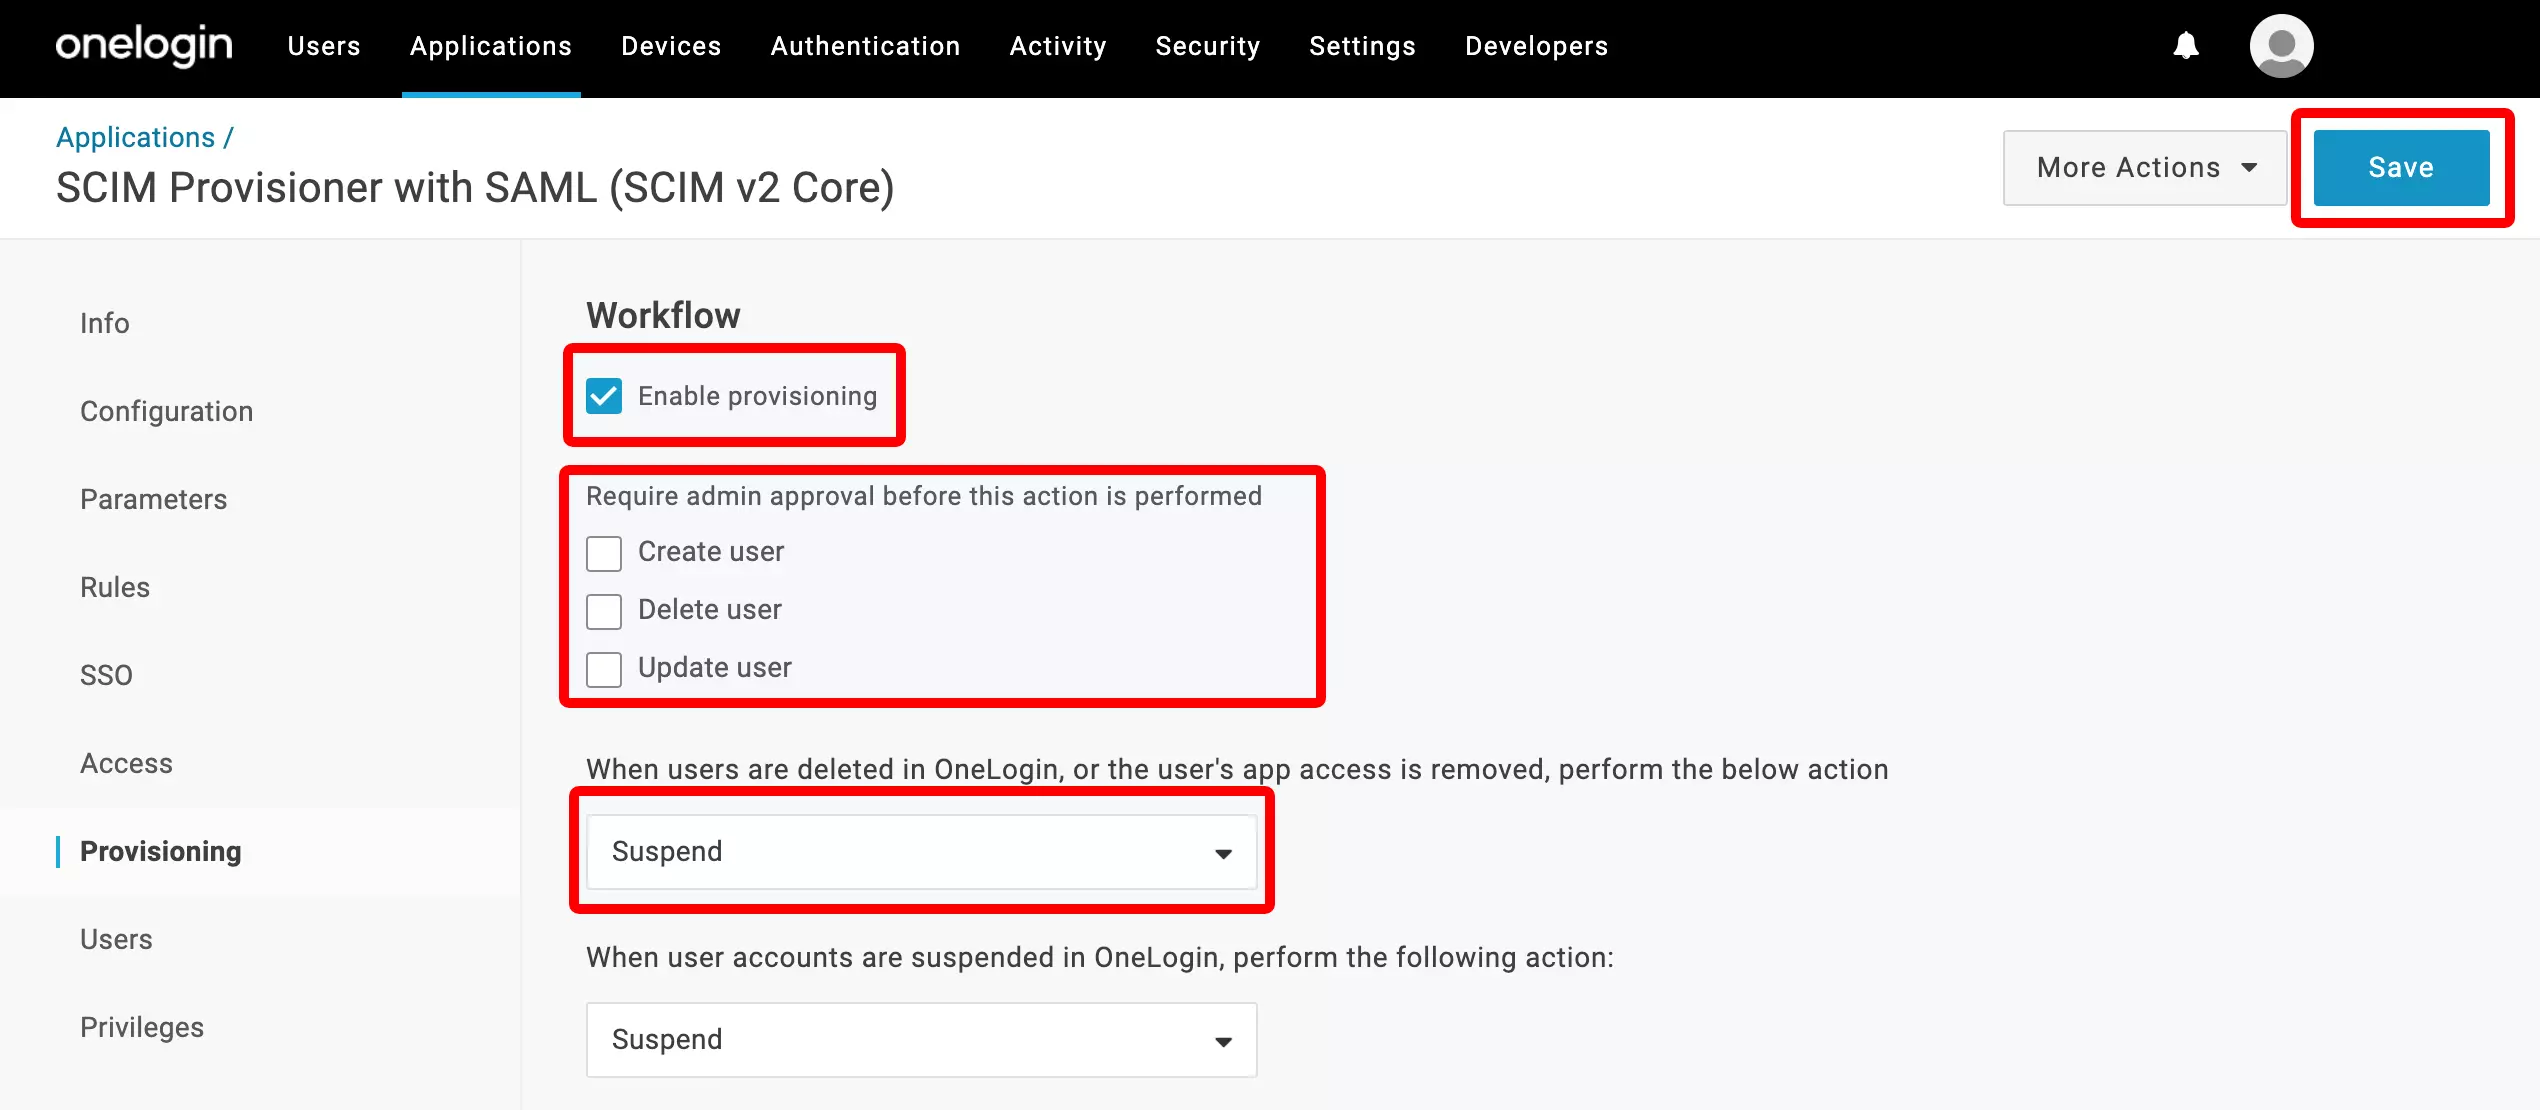
That's it! The synchronization will take place approx. every 40 minutes. Any changes you do to users in OneLogin will then be overwritten in BlueTally.
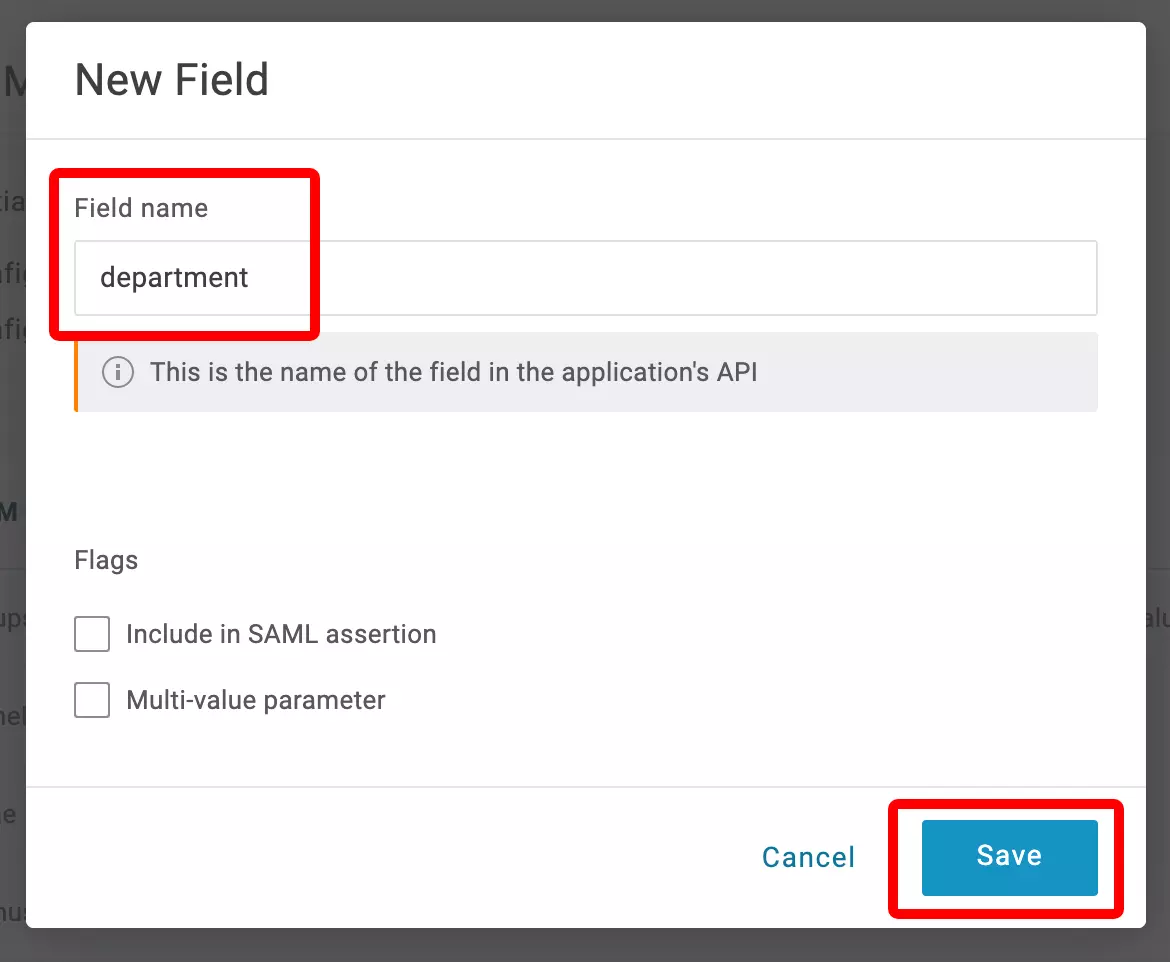
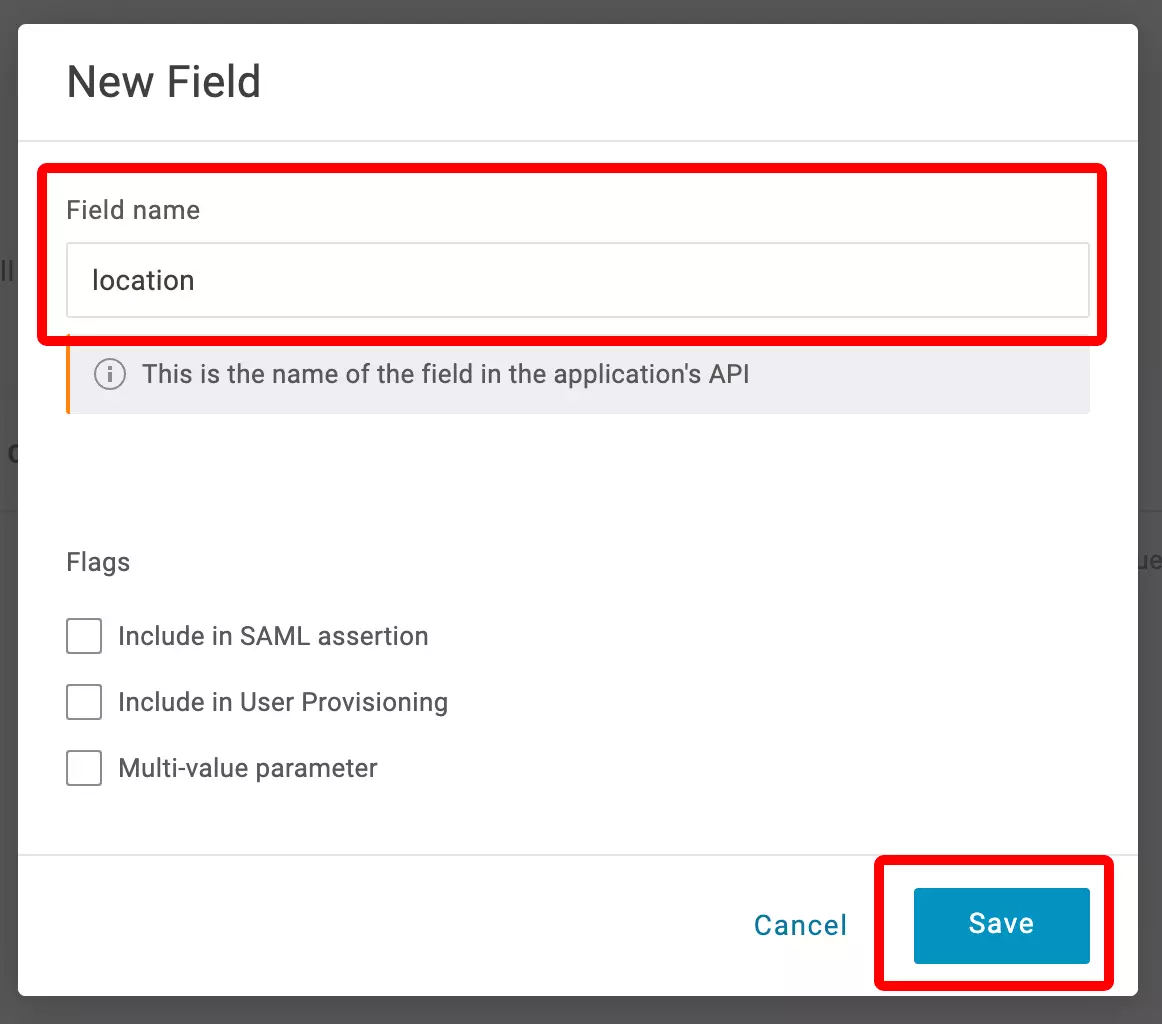
If you'd like to sync the employee's department into BlueTally as well, you can enable the Set employee department info from Identity Provider option in your BlueTally account settings under SCIM 2.0.

If you remove a user from OneLogin, they are marked as "Archived" in BlueTally, but not deleted - as they might still have assets checked out to them, and it might be useful to still keep their history.

If you have any questions regarding this integration, send us an email to [email protected] and we'll assist you with your setup!

You can also setup SSO with OneLogin,receive notifications directly to Microsoft Teams and Slack, integrate BlueTally with Intune, or into your existing workflows by using our powerful API.


Get started for free now

Our Free Plan includes all features and up to 50 assets